...
Showing posts with label simple. Show all posts

Sunday, February 1, 2015

Negative Space Colorblock Nail Tutorial

Negative Space Colorblock
by Essence Bryant, literary editor
DSC_0138.JPGColorblock is a rising trend, both on the runway and in the nail salon. Couple this with a new trend, called negative space (where there is space on your nail that contains your natural nail color) for an amazing design. In order to get this look, you won’t have to venture out of the comfort of your home, as this design can be easily done by anyone with a few simple steps!

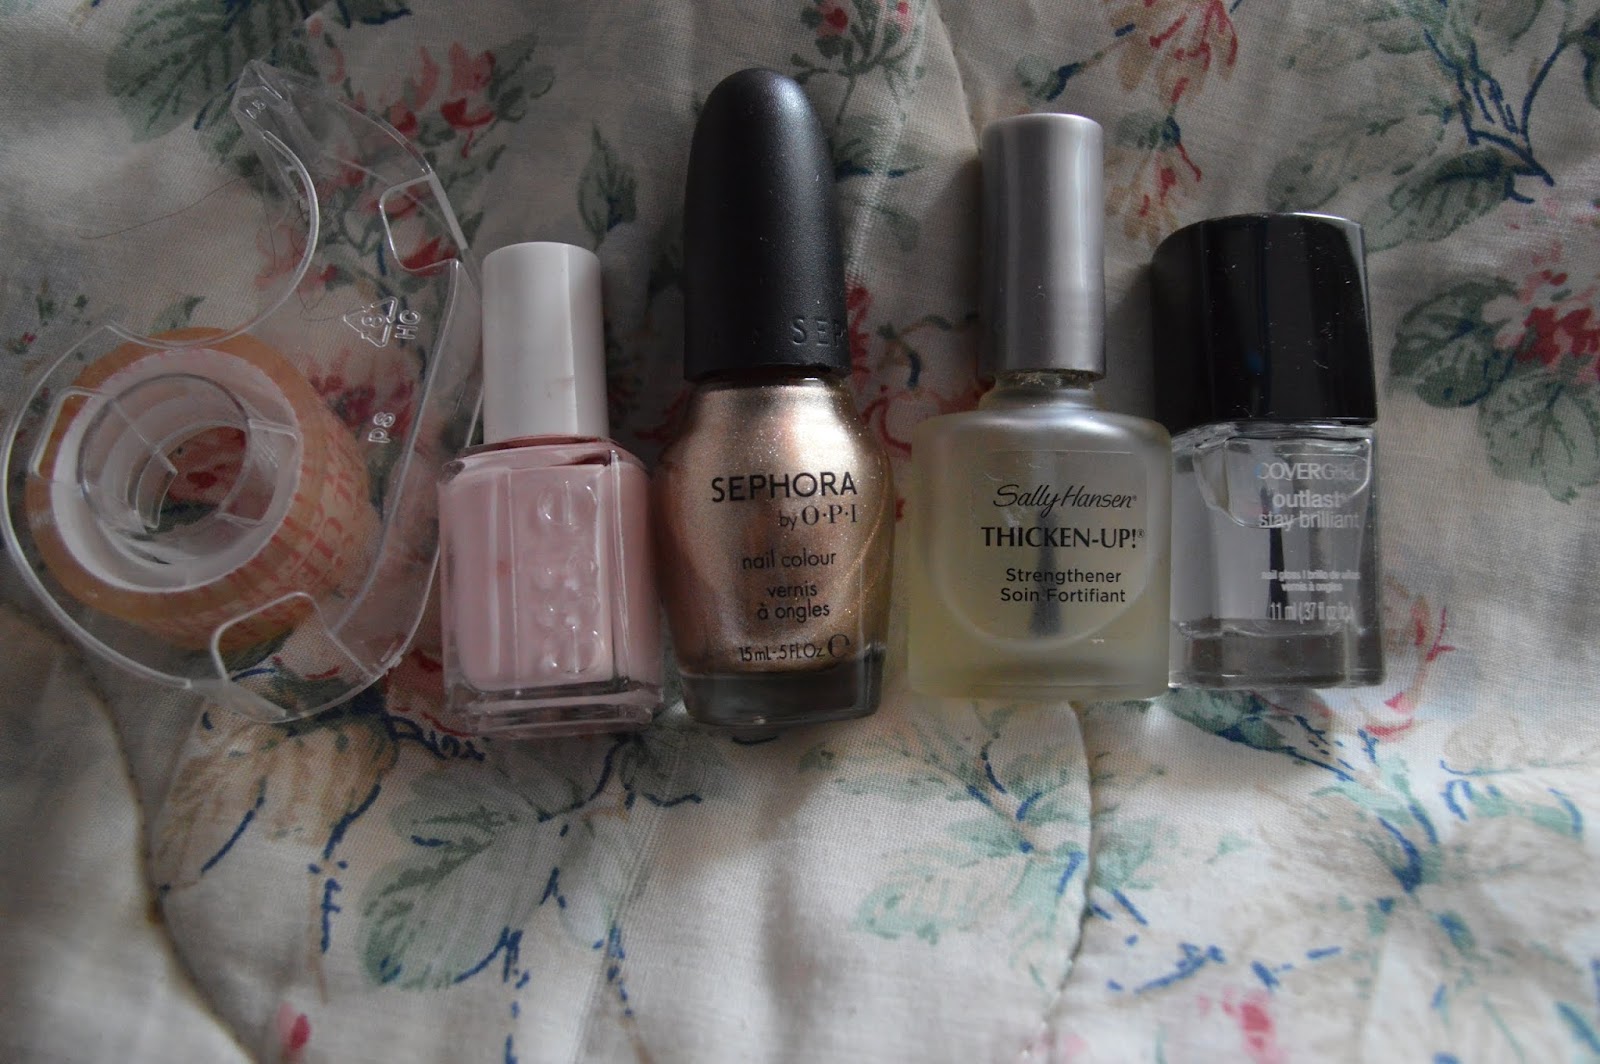
What you’ll need:
- clear tape (if necessary)
- a nail polish without glitter or shimmer
- a glitter nail polish
- a base coat
- a top coat

Step 1:
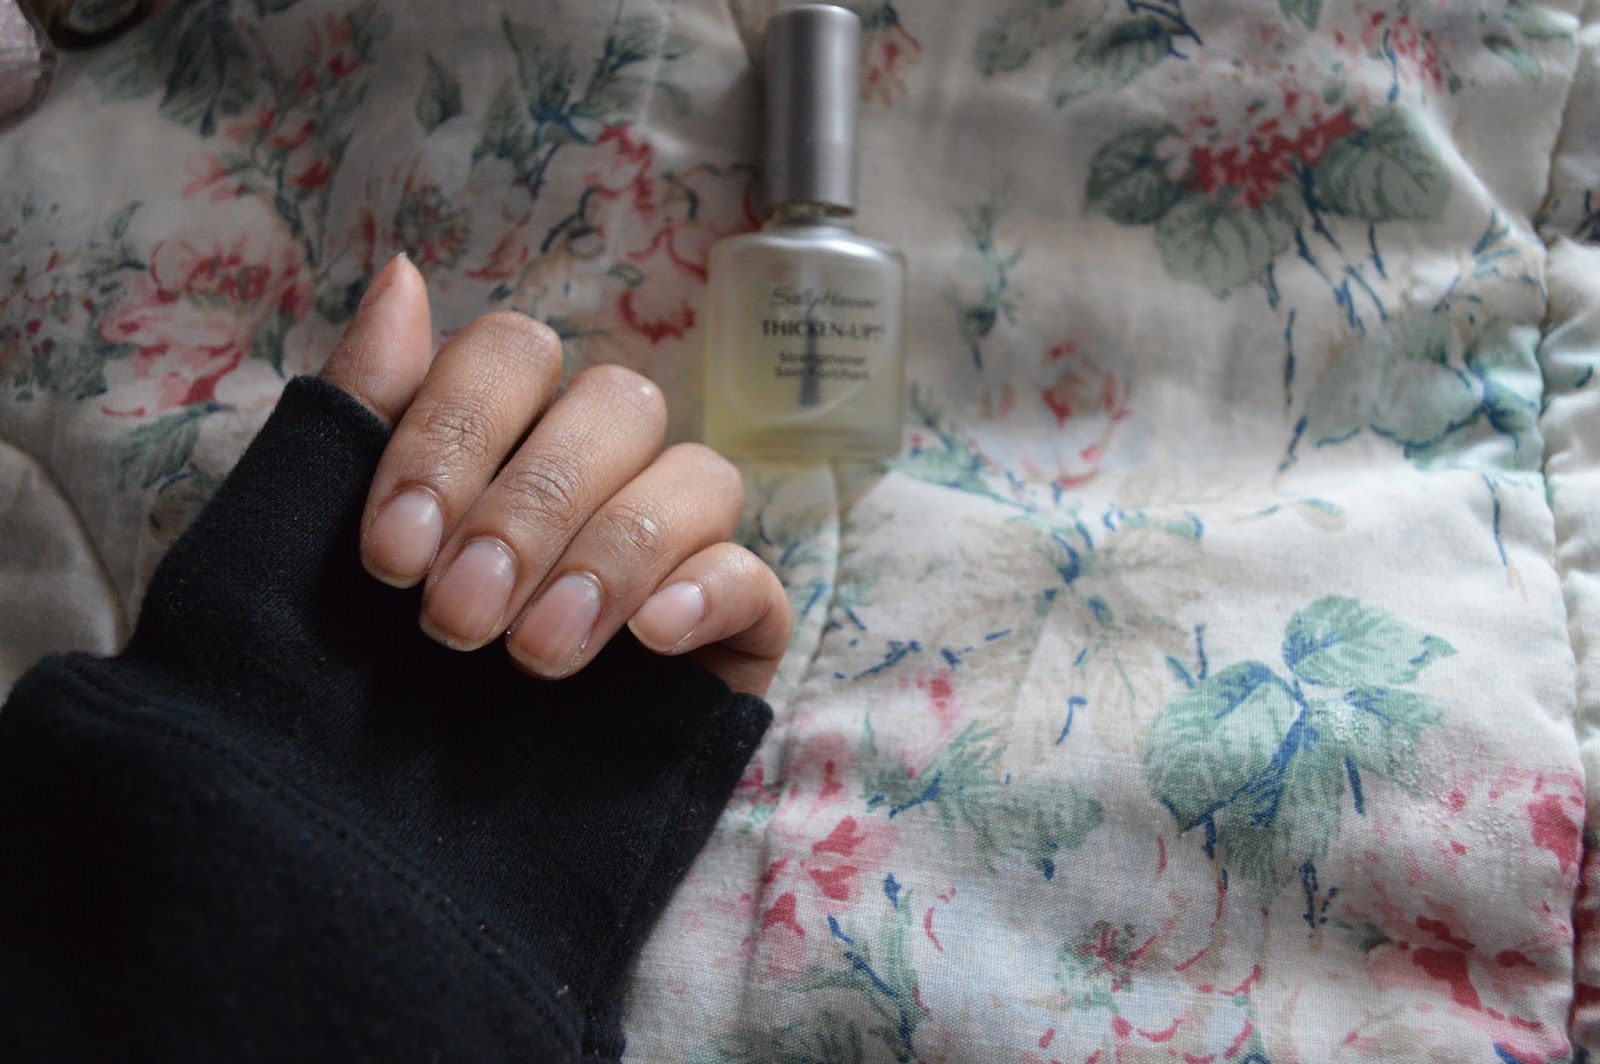
DSC_0139.JPGStart by applying the base coat to all of your nails. If you need to, file or buff your nails appropriately.
The base coat is used to protect your nails from yellowing and will even out any blemishes such as ridges or streaking. I am using Sally Hansens Thicken Up! nail strengthener formula. This can be purchased for $8.95 or less on Amazon
For this design, the base coat will enhance the color of your natural nail, for the negative space look.


Step 2:
DSC_0151.JPG
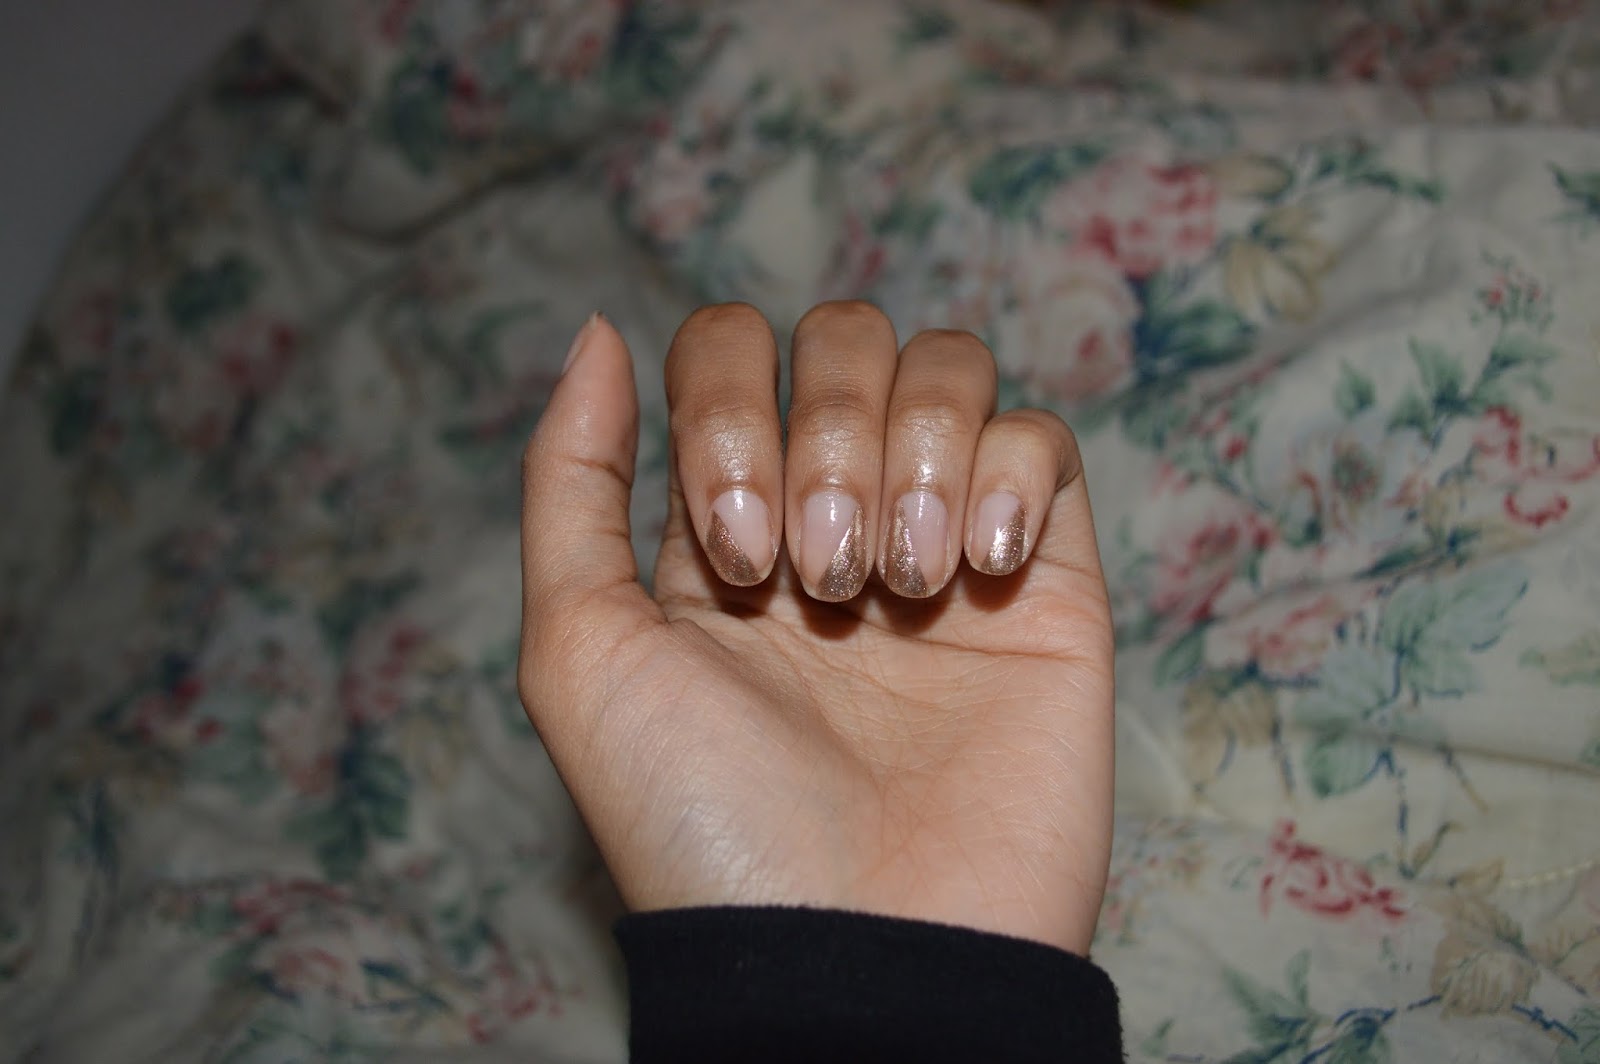
Once your nails are completely dry, apply one of the two colors diagonally across your nail. If necessary, use a clear piece of tape diagonally across the bottom of your nail to help shape your color for a perfectly straight line.
Remove the tape once you have painted your nail. For the first color, I am using Keep Me on My Mistletoes by O.P.I. from Sephora. This can be bought for $8.12 on Amazon.
Do this on all 10 nails.
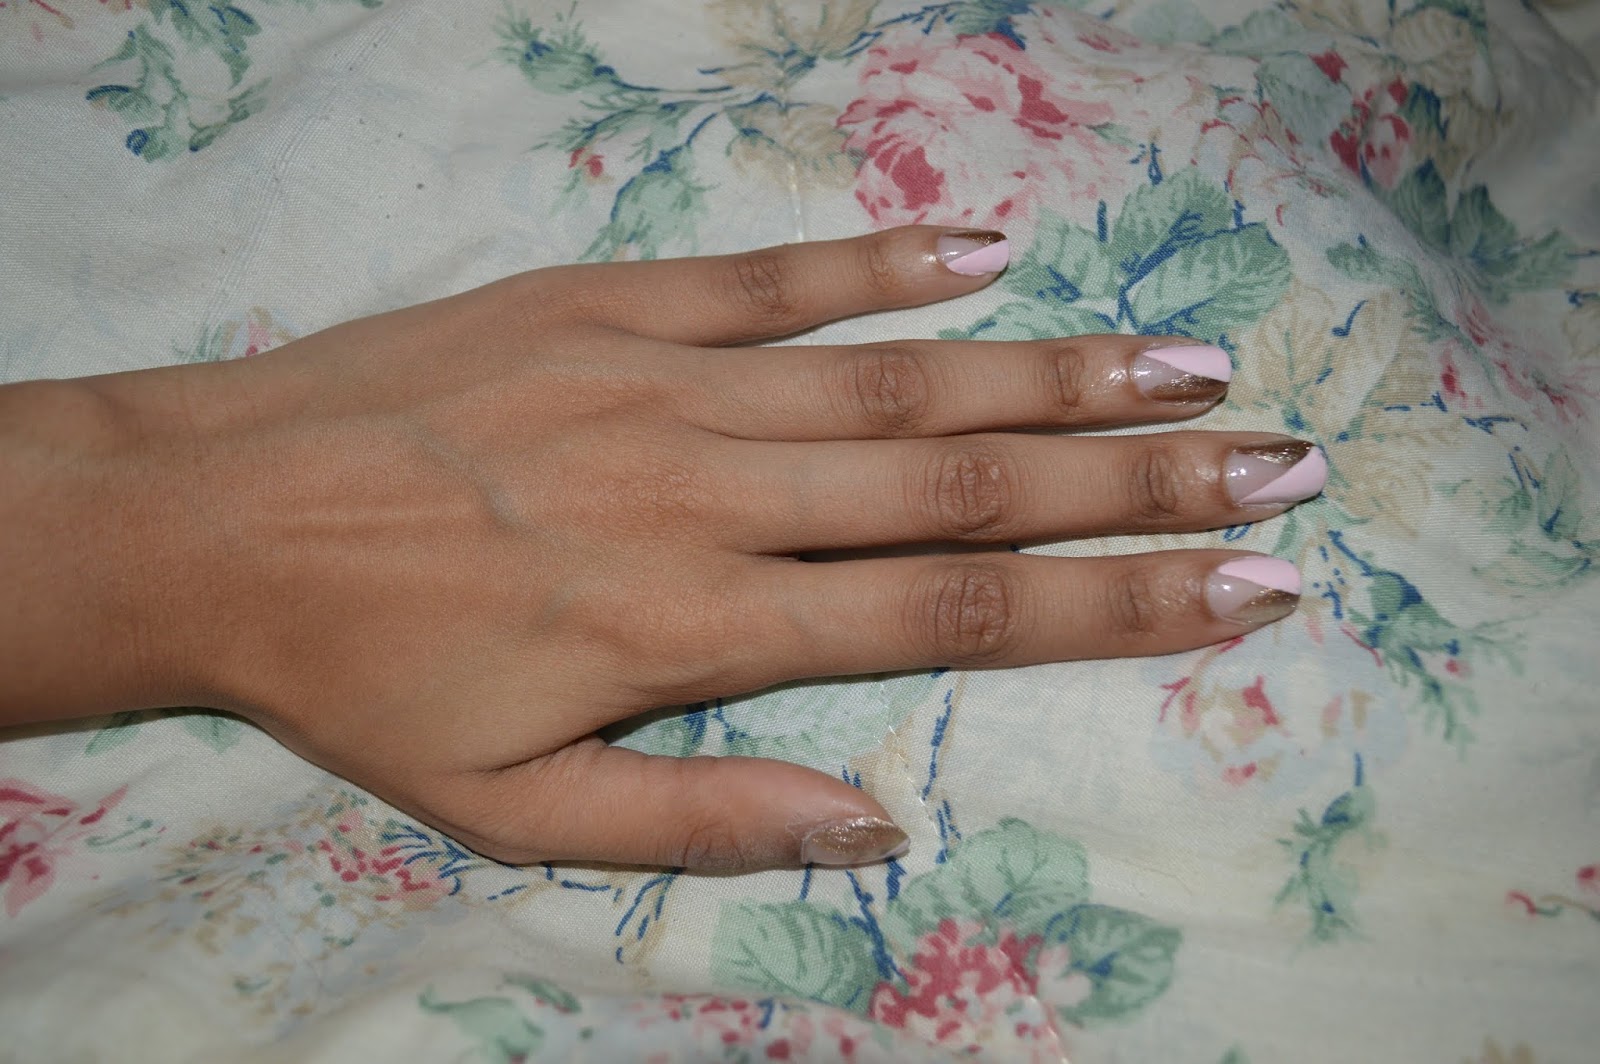
DSC_0153.JPG


Step 3:
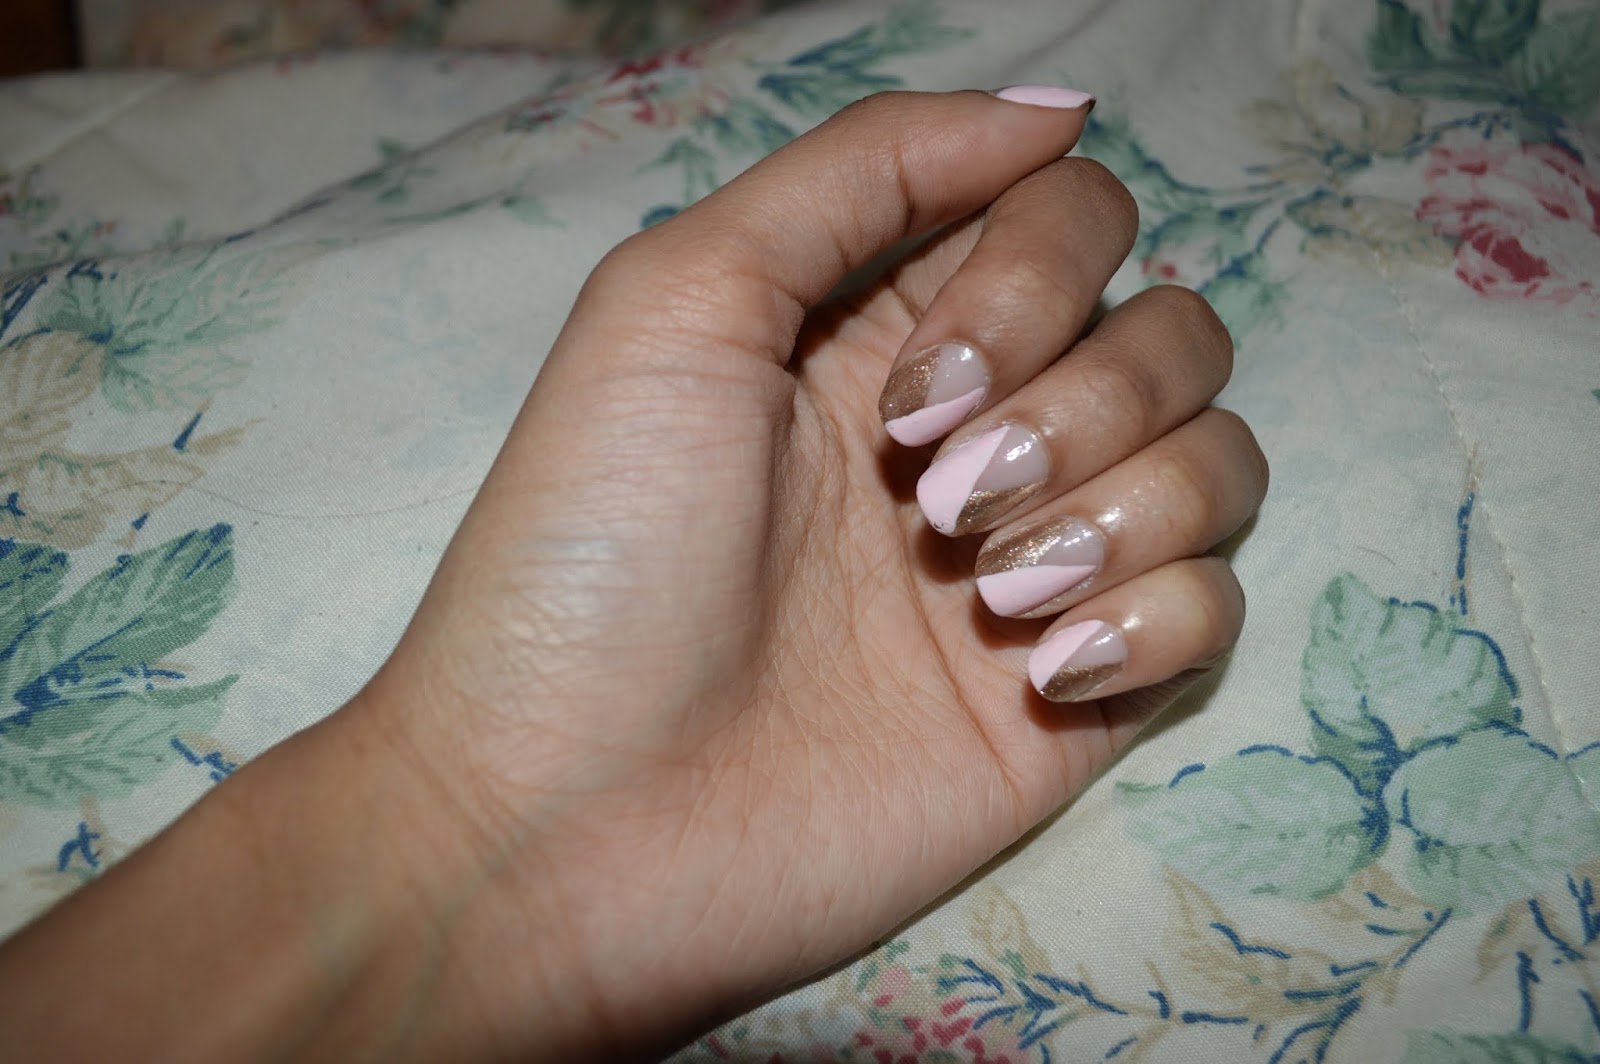
Before you move on, it is crucial that your nails are dry, if you are using the tape method. Using the tape, apply another diagonal piece across the opposite side of your nail, and using the second color, paint across your nail. Be sure the triangle that is made is perfectly centered on your nail. Remove the tape when you are done. For this color, I am using Romper Room by Essie which can be bought on Ulta.com for $8.50.


Step 5:
Repeat the process for all 10 nails.
Step 6:
Add your top coat for a shine and to help protect the design. Allow 10-15 minutes to dry, and you’re done!
DSC_0152.JPG

Sunday, December 28, 2014

ootw (outfit of the week)

The color Maroon has been the biggest trending color for the fall and winter time the past few years. The color maroon surprisingly works well with many colors besides black. Deep tone colors like maroon look great with other deep tone colors like forest green. 

Wednesday, November 26, 2014

Simple braids- Fishtail


by Yura Shin


Fishtail braids are perfect hairstyles for any occasion. They can be worn for school, work, or even holiday parties. They look like they took so much time but it's actually extremely easy and simple. All you need is a hair tie.

-Split your hair into two even sections.
-Take a piece of hair from one side of the parted sections and bring it over to the other side.
-Do the same process to the other side.
-Repeat this routine until your fishtail is completed.

Tips:
The smaller the section of hair is, the more fishlike the braid looks. Also, try to hold the braid as tightly as possible in order for the braid to last all day.

Wednesday, November 12, 2014

Clear up with Clarisonic

Clarisonic Review
by Harvind Japra
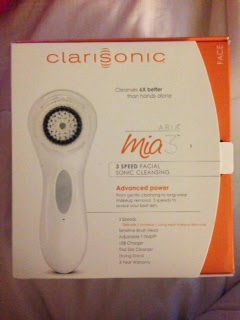
Are face scrubs and exfoliators just not cutting it? And even if you think they are, your results would be magnified with the Clarisonic. This device is not over a hundred dollars for no reason, many people are hesitant when buying the face brush mostly because of it’s price, but it’s well worth it.

This face brush is bound to last at least 4 years if not more, and each day it’s priceless to be able to clean out your pores of all the filth and dirt that gets collected in them.

When visiting even a local salon getting even one of these cleansing facials, it can cost about 40 dollars. Most people either can’t afford to spend $40 a day and those who can most likely don’t have the time.

The Mia 3 or any of the other face brushes by Clarisonic are definitely a good place to invest your money. The amount of time and money saved makes up for the initial cost in just the first couple of weeks. The attachable brush heads are really simple to use and the original face brush comes with the Clarisonic itself. It’s recommended that you buy a new brush head every 3-4 months for the best results.   

It’s truly a revolutionary product, although there’s not too big of a difference between the latest clarisonic and the first one, it does have different speed settings. The Mia 3 comes with 3 different settings (slow, normal, fast), and according to how the client’s skin is looking or feeling that day they would set the speed accordingly. The slow is recommended for more delicate skin that gently cleans the pores without totally stripping the face, Normal is recommended for a more harshers cleaning, and the last setting is usually to take off a facefull of makeup. One use truly takes out everything from your skin.

Depending on your skin type, there various different brushes available including acne prone skin, delicate skin, etc. The way that the clarisonic works is that it gives you 20 seconds for the forehead, 20 seconds for the nose and chin, and lastly 10 seconds for either cheek. Every time you have to move to different part of your face the brush will keep informing you to move on.

Not only is the brush easy to use, but it is also very safe. The Clarisonic vibrates as it cleans out the pores to shake out all of the dirt from underneath the skin. People may also use it to help to remove dead skin or just to deep cleanse.

When charging the clarisonic you simply attach the magnetic charger to the handle of the brush and it does the job for you. This ensures no electrocuting because there’s no opening for the water to get inside of the device. The product is available at any Sephora, Macys, or Ulta and it is also available online.

Sunday, October 26, 2014

Tattoo your eyes with Maybelline color tattoos

by Yura Shin

Maybelline has launched their new Dare to Go Nude 2014 Collection. With that said, there are five new shades for their color tattoos. These Color Tattoos are cream gel eye shadows. They come individually in a small pot.

Their ink technology creates super- saturated colors. The colors come out very vibrate and pigmented. Although cream shadows tend to crease, this one does not. Since these color tattoos are cream gel eyeshadow, it is extremely long lasting, does not smudge, and does not fade. It can be used as an eyeshadow base/primer, or it can be use alone.  It can be applied with an eyeshadow brush, or with your finger; it’s very easy to use.

“I love the color tattoos because it’s so easy and simple to use. I love the creamy beige color because it’s a nice light neutral brown that can be used everyday. It’s also extremely affordable,” senior Ysbel Hernandez said.


There are five new shades to this collection.
-Creamy beige: A light brownish tan beige color.
-Deep Forest: A deep green forest color
-Vintage Plum: A gray/purple color
-Chocolate Suede: A dark brown color
-Dramatic Black: A jet black color.

Chocolate Suede and Dramatic Black are great colors to use as eyeliner as well. You can apply these colors with an angled eyeliner brush to use it as eyeliner.

These color tattoos are retailed for about $5. It can be purchased from any where that sells beauty products like Target, or Ulta, or any drug stores like Walgreens, CVS, Duane Reade, or Rite Aid.

Wednesday, October 22, 2014

Bun Fun


Bun Fun
by Yura Shin

Putting your hair into a bun is a perfect way to get your hair out of your face while looking cute. A bun is a really fast and easy updo to do when you’re running late to school or work. It is simply so easy, and looks good without looking like you put too much time into it.

There are many different types of buns like a donut/sock bun and a top knot . However, the sock bun is a perfect bun that doesn’t look too messy compared to other buns. A sock bun is a hairstyle that would still be appropriate for more formal events as well as casual outings.
Celebrities like Rihanna, Jessica Alba, Miley Cyrus, and Taylor Swift have been rocking buns, and you can too.

To recreate this look you will need: a brush/comb and a hair tie. A teasing comb, bobby pins, and hairspray is optional.

-Gather your hair and tie it in a ponytail in the location that us desires. (It can be a high bun, low bun, whatever floats your boat) For extra volume, tease the hair in the ponytail.

Top knot bun: Twist the ponytail and wrap it around in a circle.

Donut/ Sock bun:
Material: Sock/ donut bun
-Insert the donut into the ponytail.
-Wrap the ends of the ponytail around the donut and stick your thumb from underneath and through the top of the bun.
-Push your thumbs up into the donut and continue rotating the donut into your head.
-Style and bobby pin any flyaways if necessary.

Sunday, October 19, 2014

Outfit of the Week (ootw)


Jean jackets are a perfect way to transition summer clothing items into the fall. Jean jackets are very versatile; they can be worn with a blouse,shirt, dress, shirt, anything and everything. Jean jackets are a nice way to keep an outfit very casual. Once the cool weather hits, throw on a jean jacket to look cute and to stay comfy!

Friday, October 10, 2014

Aid your beauty with First Aid Beauty's Ultra Repair Cream

First Aid Beauty Ultra Repair Cream Review
by Yura Shin


The First Aid Beauty Ultra Repair Cream is a rich, thick cream that is perfect for anyone with dry skin, dry patches, and/or is struggling with irritation or itching from eczema. The cream can be used on your face, body, anywhere. It really does what it says.


I’ve been on a hunt for the perfect moisturizer/lotion for 2 years now. I have combination skin, so it’s hard for me to find skin care products that help my face. I naturally have oily skin, but have dry areas of my face so I’ve been struggling to find a lotion that will moisturize my face without feeling too heavy, thick, or oily. And the Ultra Repair Cream by First Aid Beauty epitomizes the perfect lotion, moisturizer, and cream all in one.


When applied, the skin absorbs the cream instantly and doesn’t leave you oily. It doesn’t feel like theres anything on your face. The Ultra Repair Cream makes you feel fresh and brightens up any area the cream was treated on. It isn’t harsh, so it’s safe for people with sensitive skin. Its smooth and gently especially on the face, making application of makeup extremely easy. It is fragrance free which is always a plus.


This cream uses more natural ingredients and doesn’t have any parabens, sulfates, phthalates, and petroleum.


The high quality cream is also very affordable; it retails for $28 for a 6 oz and $12 for 2oz. One 6oz  container of the Ultra Repair Cream lasts for about 5 months. Although it’s easier to go towards cheaper creams, isn’t it better to spend a little more to achieve the skin everyone desires?


The Ultra Repair Cream can be purchased from First Aid Beauty, Sephora, and/or any beauty/ skin stores like beauty.com and skinstore.com.                                                             

Thursday, October 9, 2014

DIY- Where's Waldo Costume


Waldo:

Waldo from Where’s Waldo is one of the simplest costumes out there! It’s easy, it’s manageable, and it’s quick. This costume can be worn by both male and female. Most people will understand who you are just by the red and white striped shirt!


Materials: 
Red and white striped shirt, red and white hat, big black glasses, denim jeans, brown boots, a cane

This costume is pretty self explanatory. Wear a red and white striped shirt (If you don’t have one, read below to find out how to make one) with a pair of denim jeans and brown boots. Top it off with a red and white hat, preferably a pam beanie and black glasses. They can be any glasses rather its sunglasses, or a 3D movies glasses. Poke out the lenses and you are good to go. You can carry around a brown wooden cane if you want like the way Waldo does.

In order to make the red and white striped shirt, you will need a plain white shirt, red fabric paint along with a brush, (from Michaels or any craft store) tape, and newspaper so you  don’t make a mess. Lay your your newspaper on top of your working area so you don’t get red paint everywhere. Then lay out your white shirt. It is recommended to put some newspaper in the shirt so the paint does not seep through to the other side. Then take your tape and stick the shirt down against the newspaper to hold it in place. Make sure to tape the shirt all the way up and down horizontally. The tape will be your whitestripes. In the area you did not tape, take your brush and fabric paint and completely paint all the exposed parts of the shirt. After you are done, remove all the tape and wait for your paint to dry. If you want, paint the back of the shirt, repeat the process.