
Smokey Eye Makeup Tutorial
by Madeline Heinsen, staff reporter
Sometimes bold makeup is needed for an evening out, making a statement or for simply looking bold. You can never go wrong when going for a Smokey Eye, especially when attending an event.
Here are the STEPS...
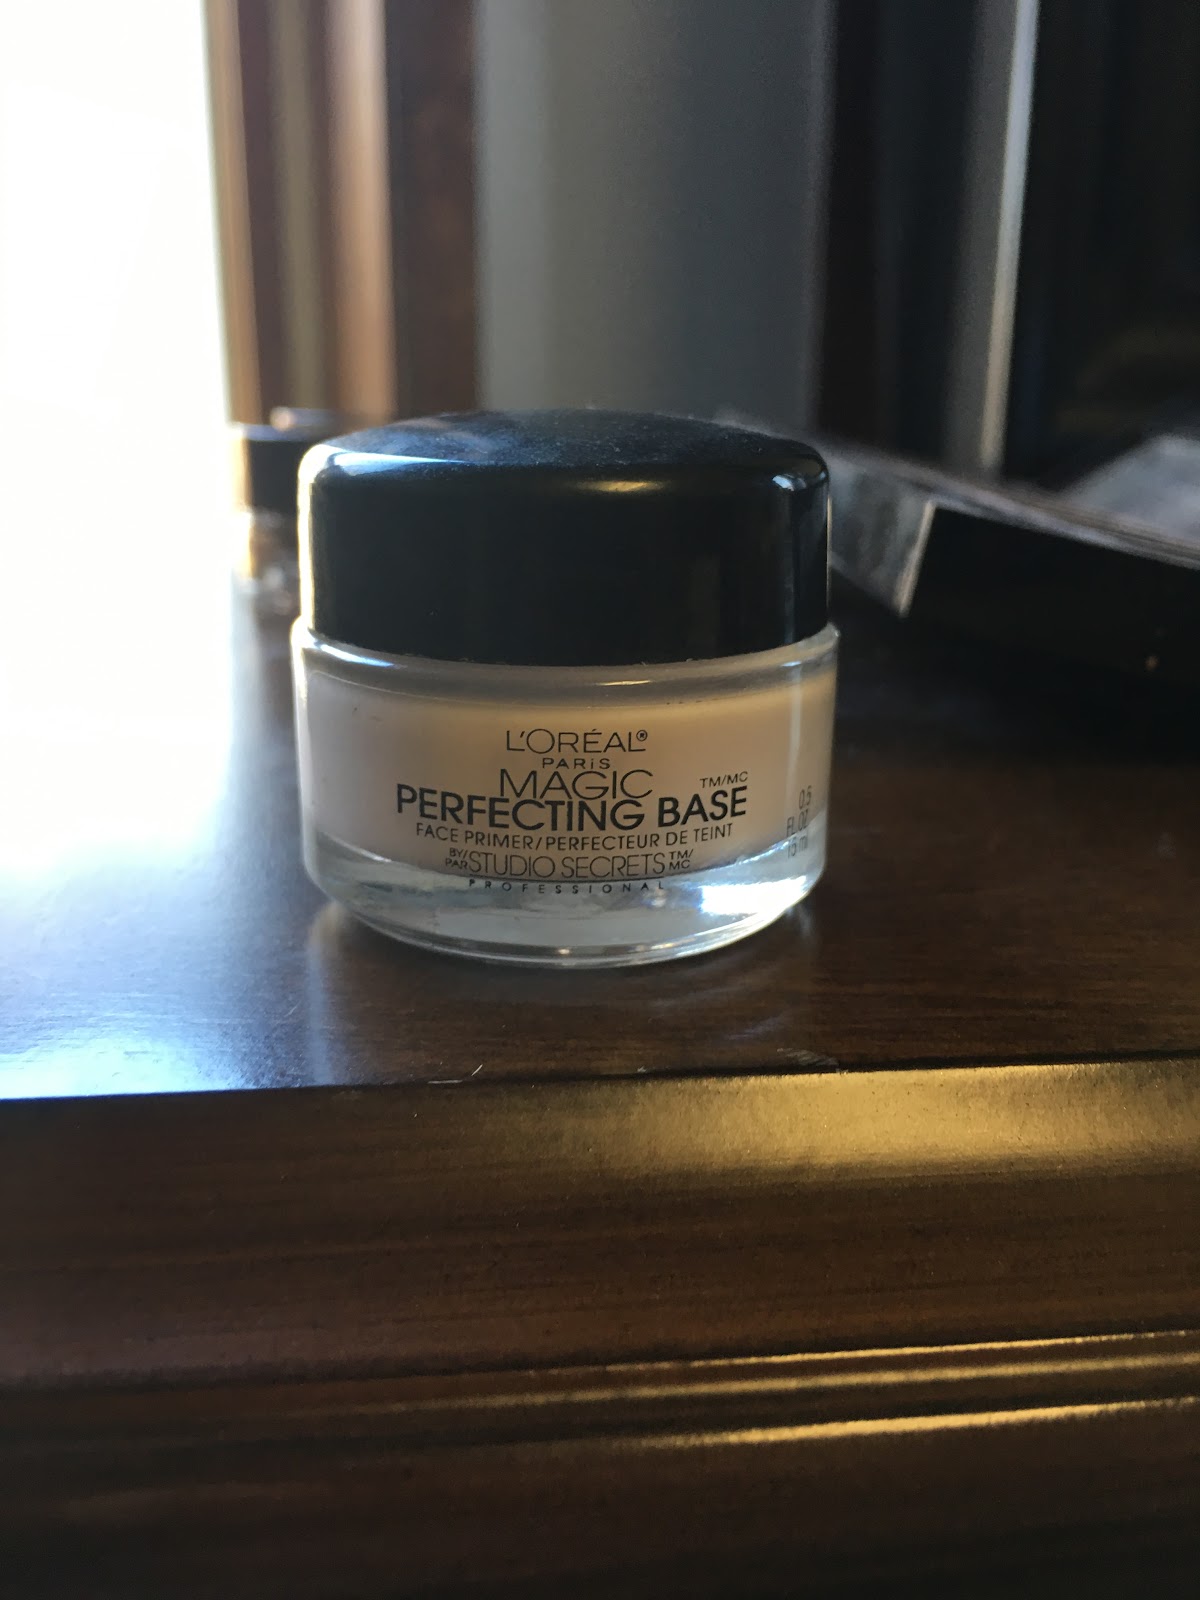
1)Use an eyeshadow primer as a base so that the eyeshadows placed on top of it will be more pigmented. Nothing’s worse than having a half faded smokey eye in the middle of an event.
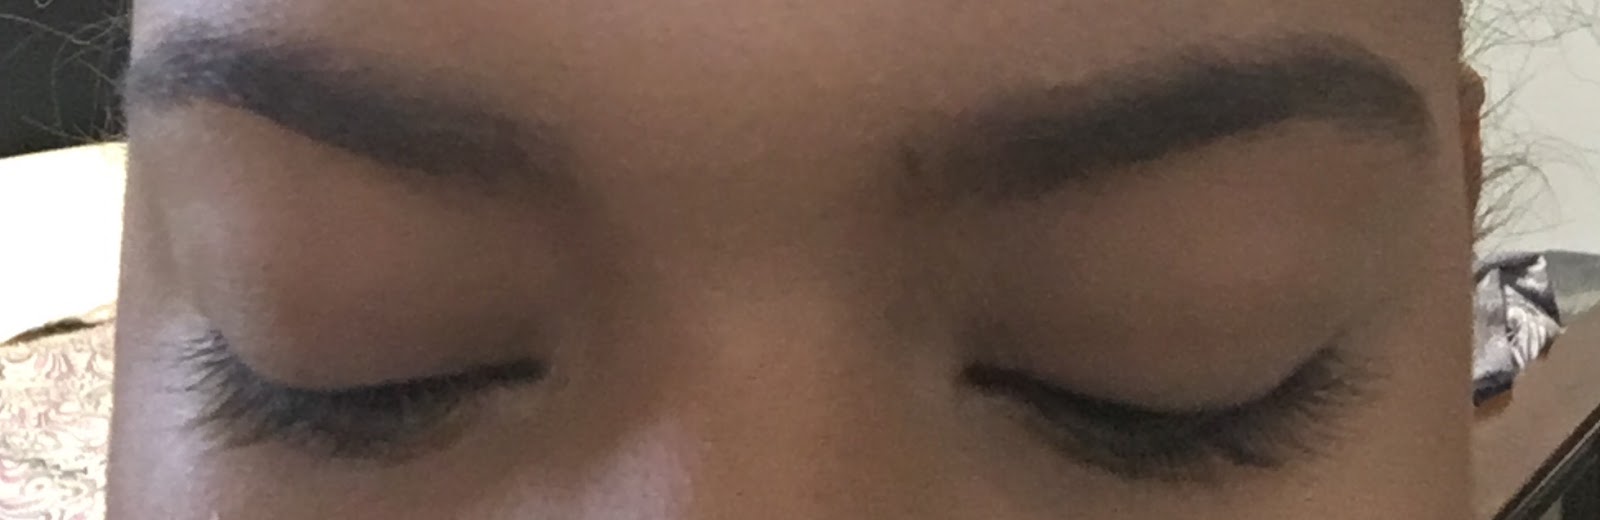
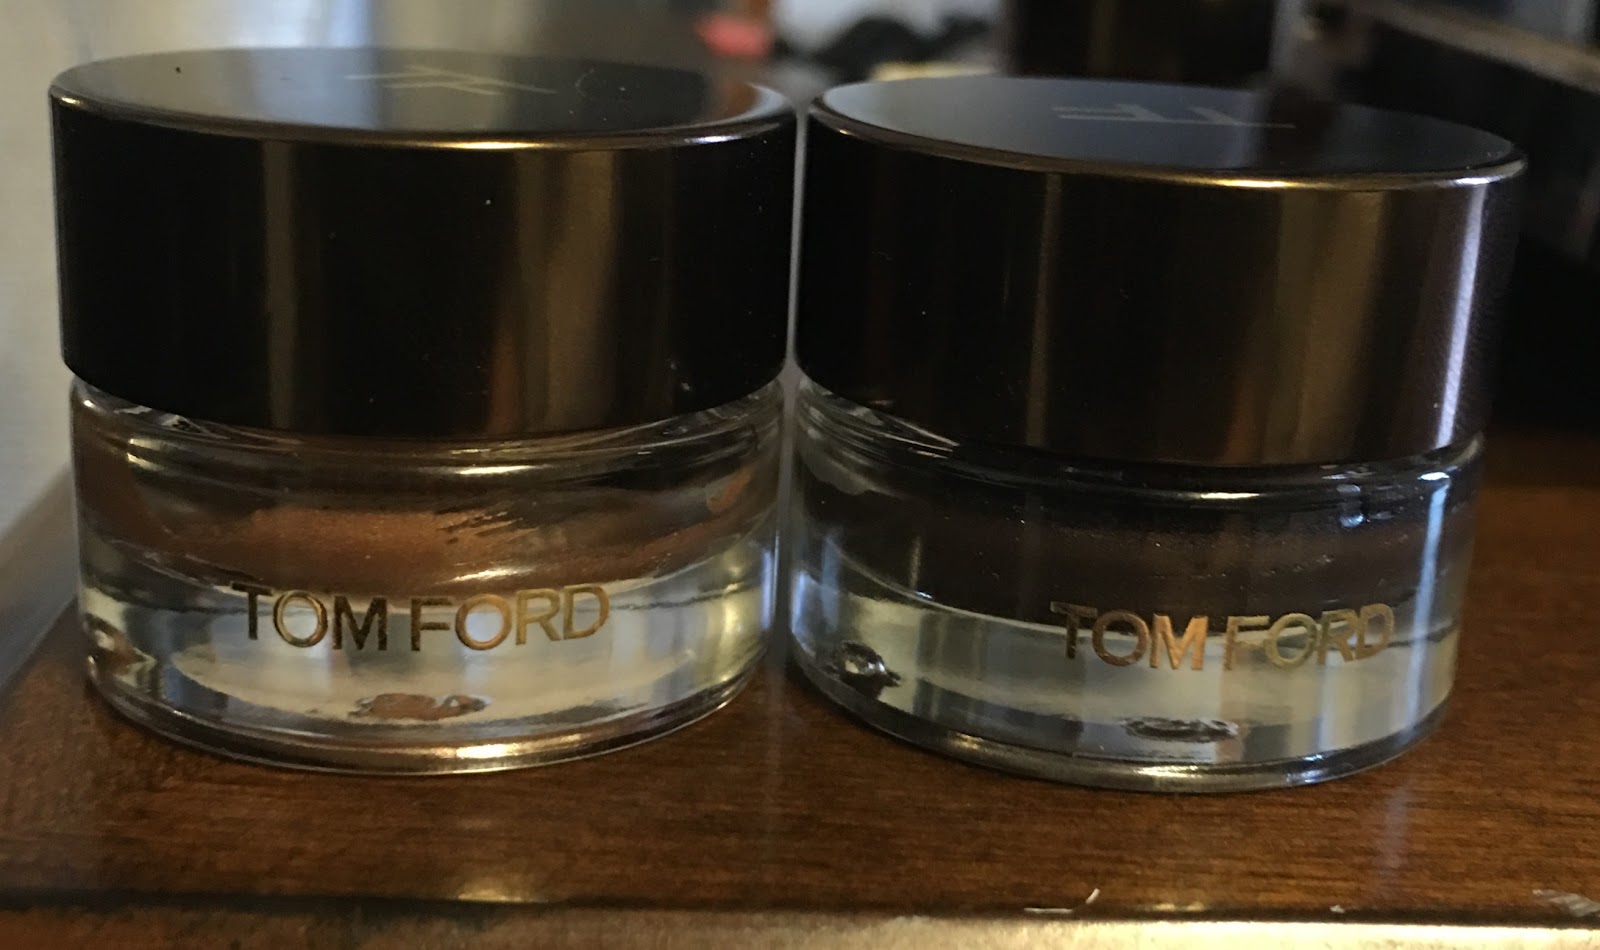
2)After applying the primer, choose a shade/color. Personally, I prefer the color black as it highlights my specific eye color If you’re looking for a more dramatic look, black is recommended. Take your eyeshadow brush and gently dab it onto the eyeshadow palette you have selected. Apply it onto your eyelid as gently as possible so that you’ll be able to spread it evenly across the lid.
3)After spreading the shadow evenly, begin to extend it outside of your eye forming a wing like shape.
4) What’s a smokey eye without shadow under the eyes?. Apply some of the eyeshadow along your bottom lashes near your waterline. Attempt to prevent it from entering your waterline as it can cause some irritation. Make sure the eyeshadow is evenly spread on the bottom of your waterline as it is on your eyelid.

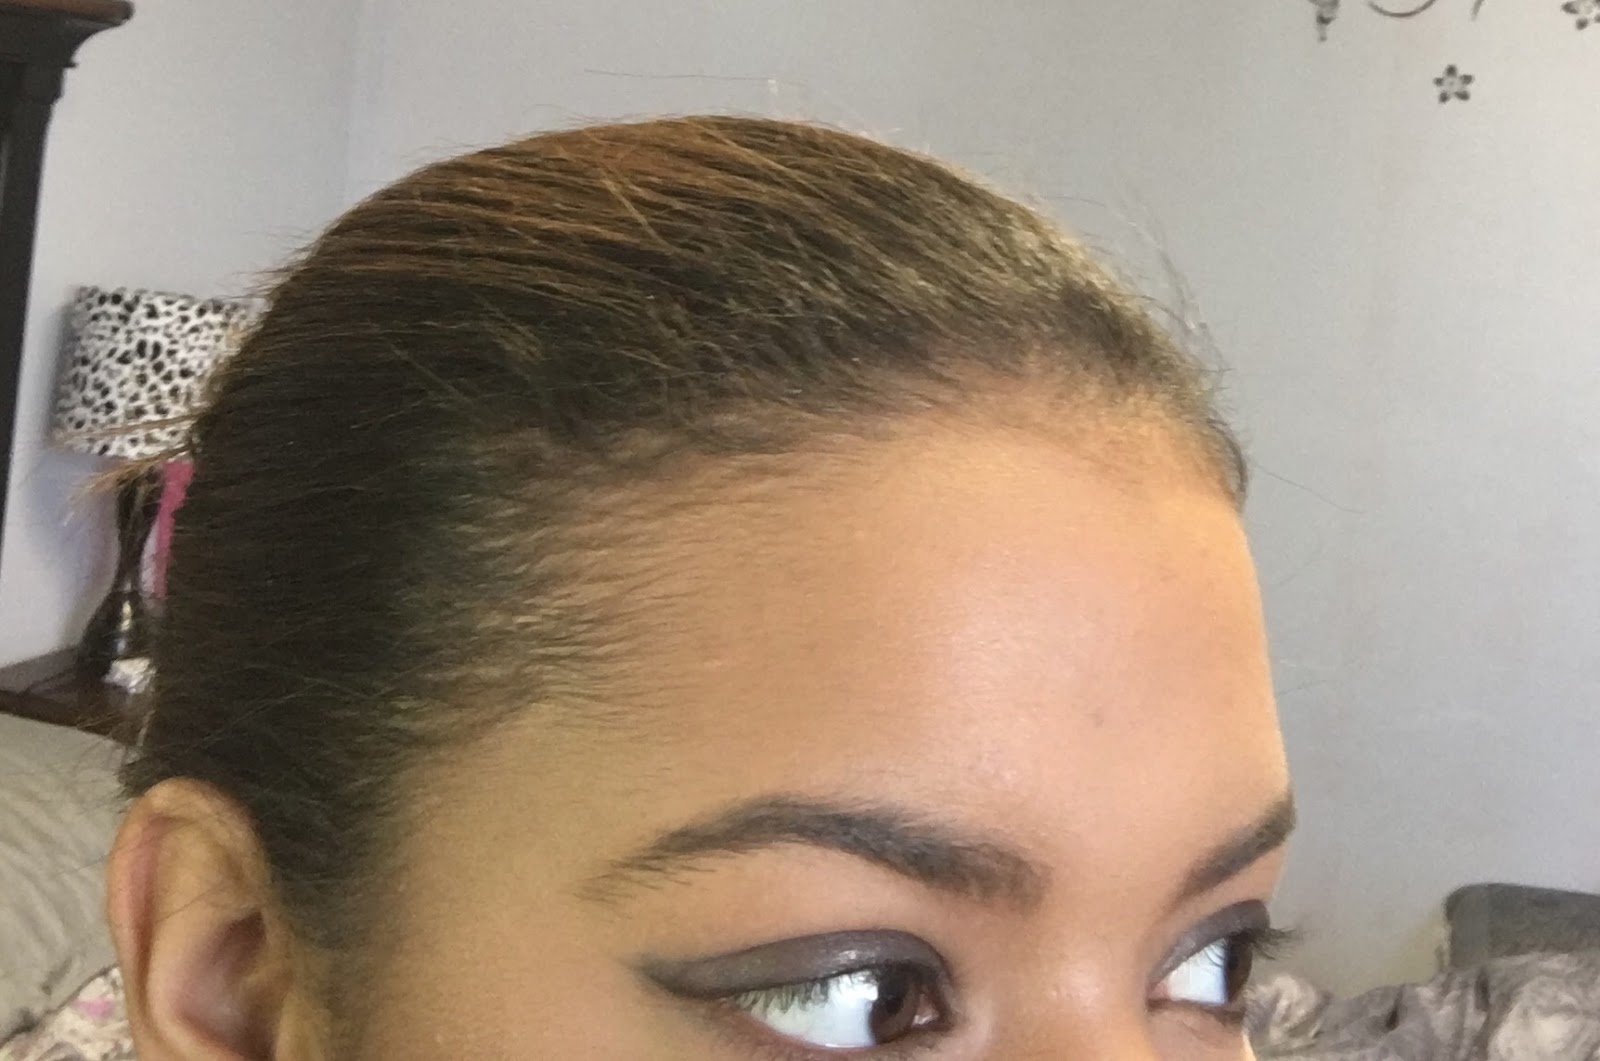
5) Proceed to applying eyeliner. For a black smokey eye,, a black charcoal eyeliner is recommended. Begin applying the eyeliner on your upper waterline. It’ll make your lashes look visible and darker. Then, apply eyeliner to your bottom waterline for a more dramatic look.
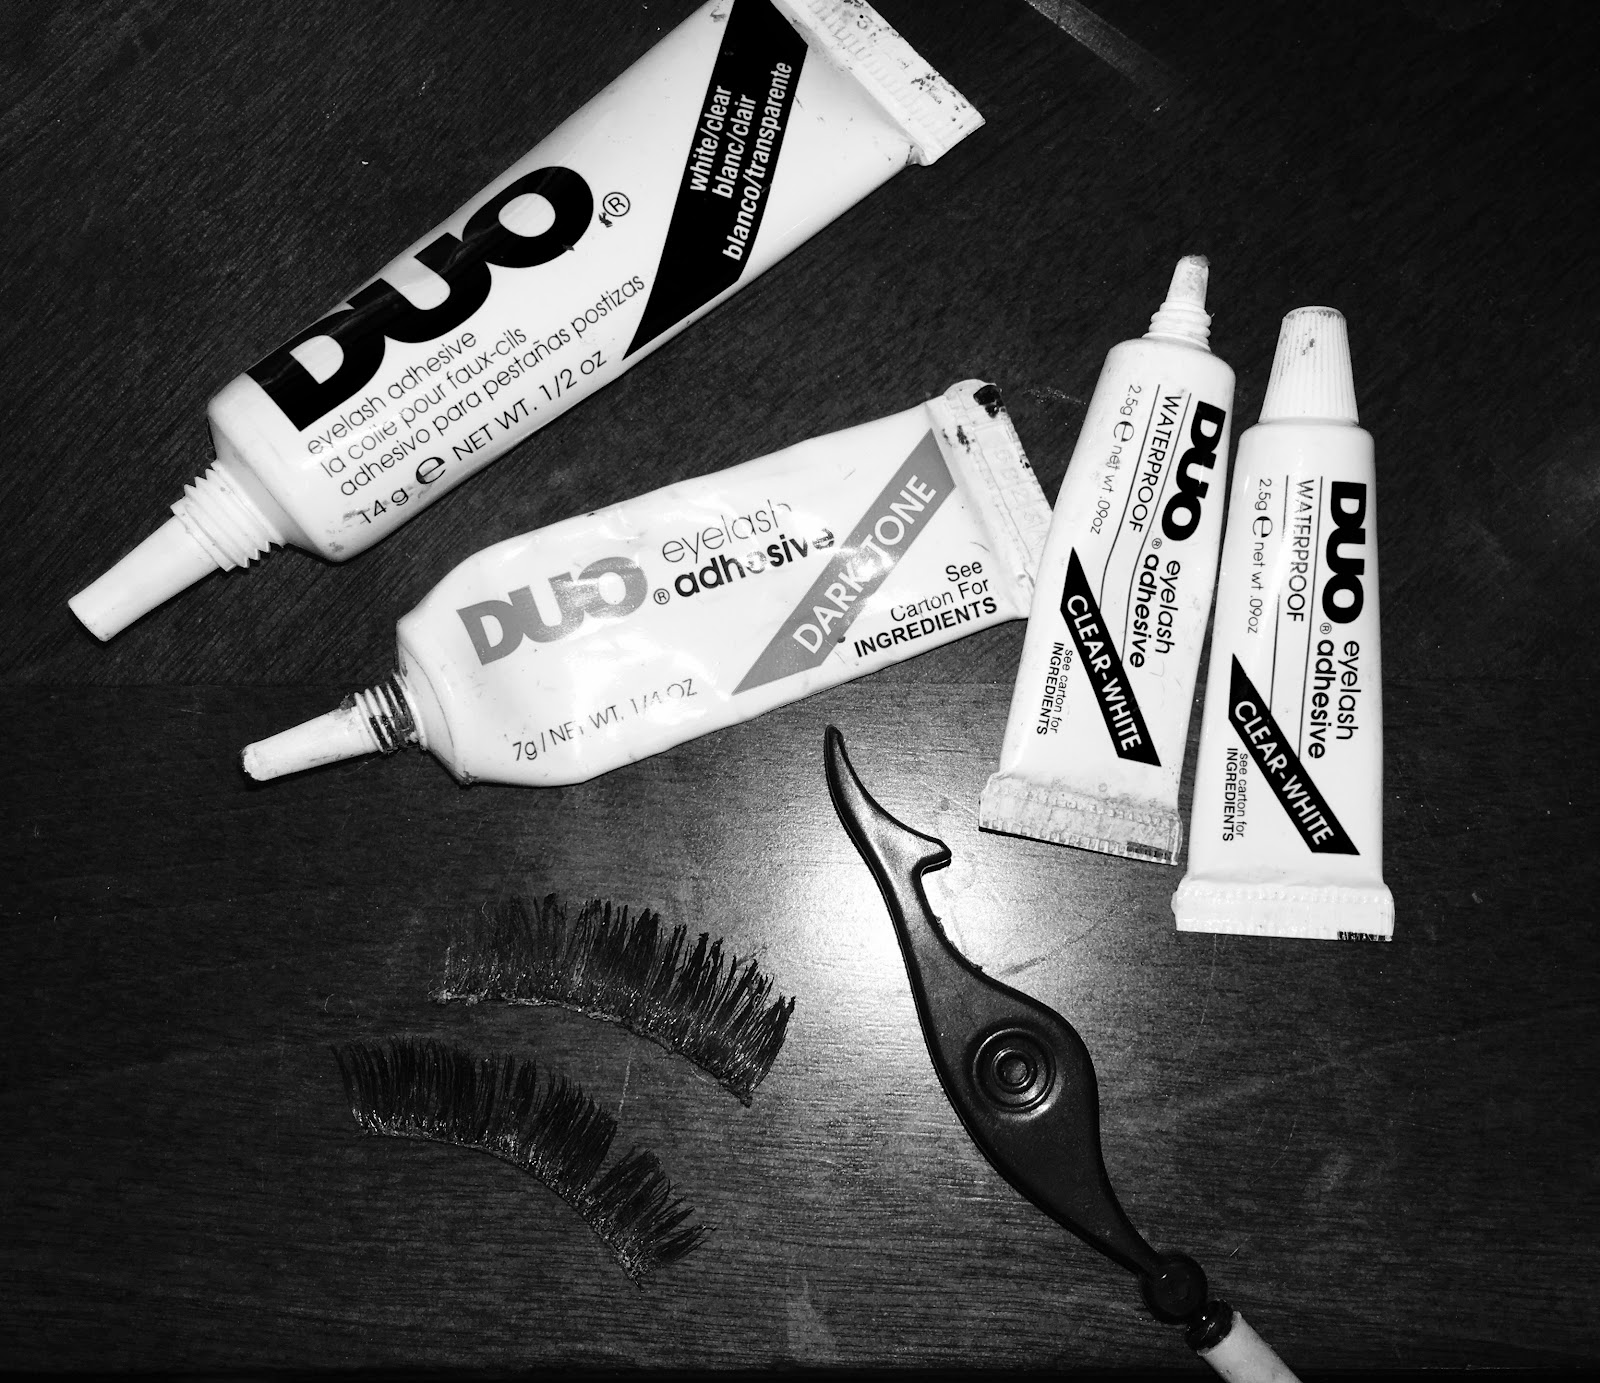
6) It never hurts to add more drama to your smokey eye with a pair of false eyelashes. . Choose a specific style for your lashes. Use Duo Glue as it holds the lashes up to 24 hours. Apply to glue to the lash and proceed to applying them on your eyelid. Apply mascara and the lashes if you’d prefer them to be more visible. To set them, apply Mascara to your original lashes.
7) Set your makeup with a setting spray for a longer lasting look and you’re all set!
thanks for Smokey Eye Makeup without shadow under the eyes
ReplyDelete