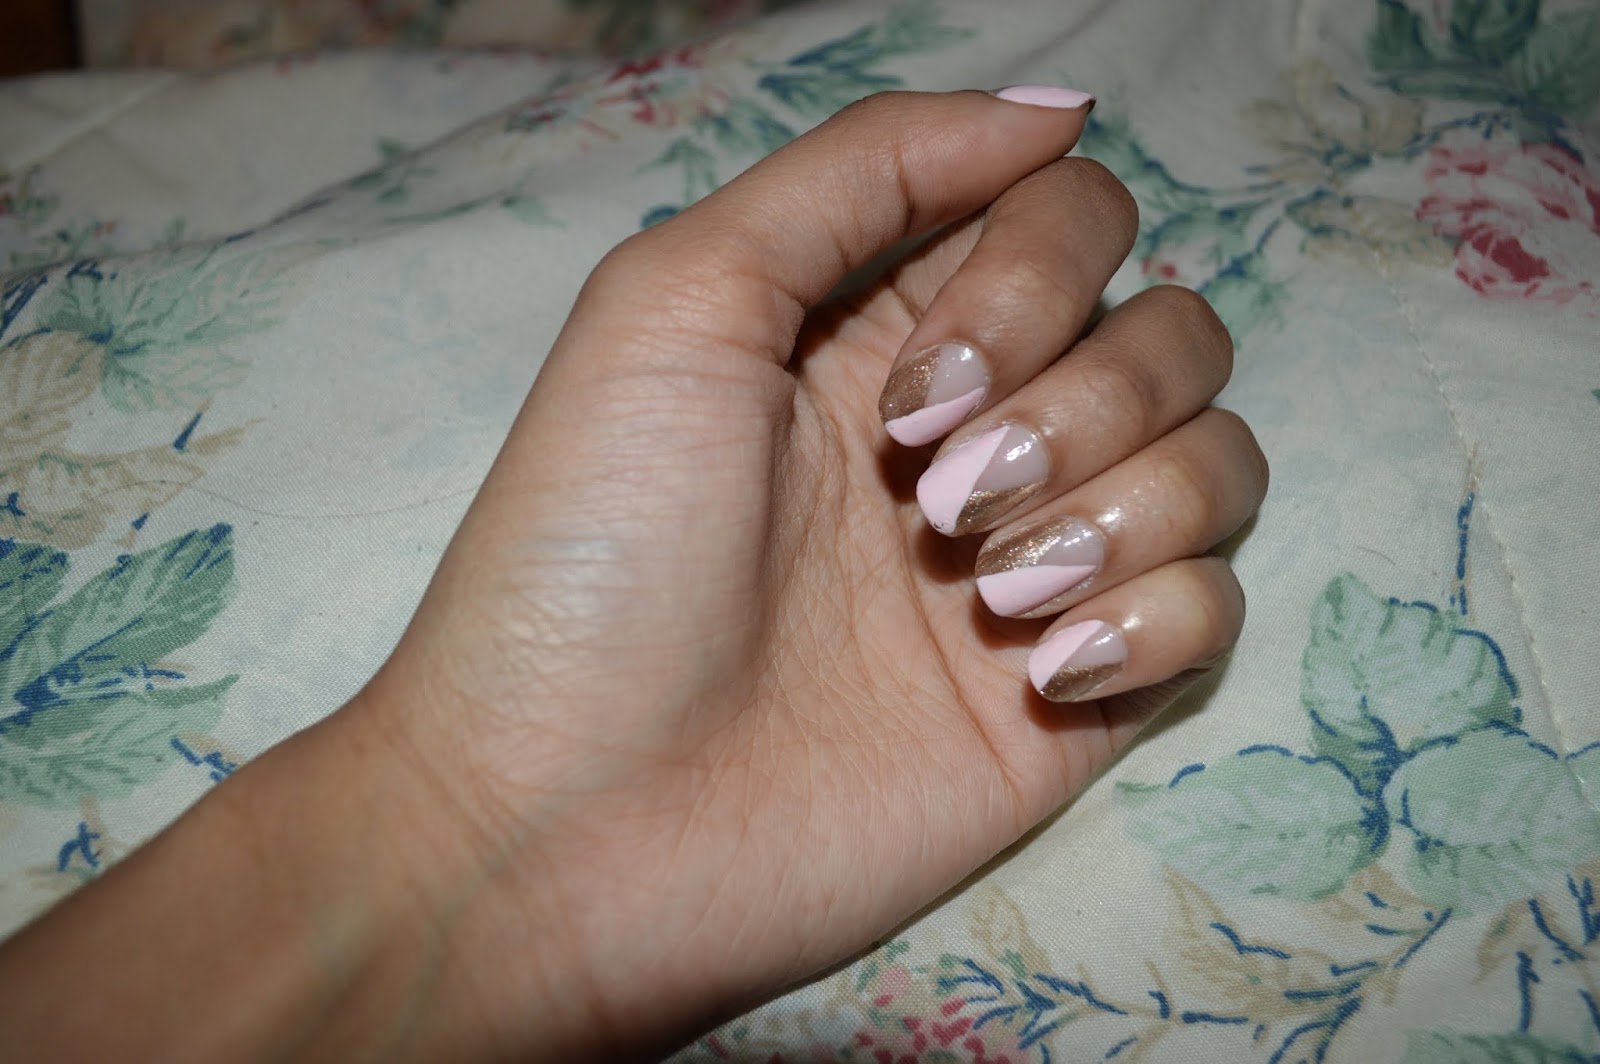
Negative Space Colorblock
by Essence Bryant, literary editor
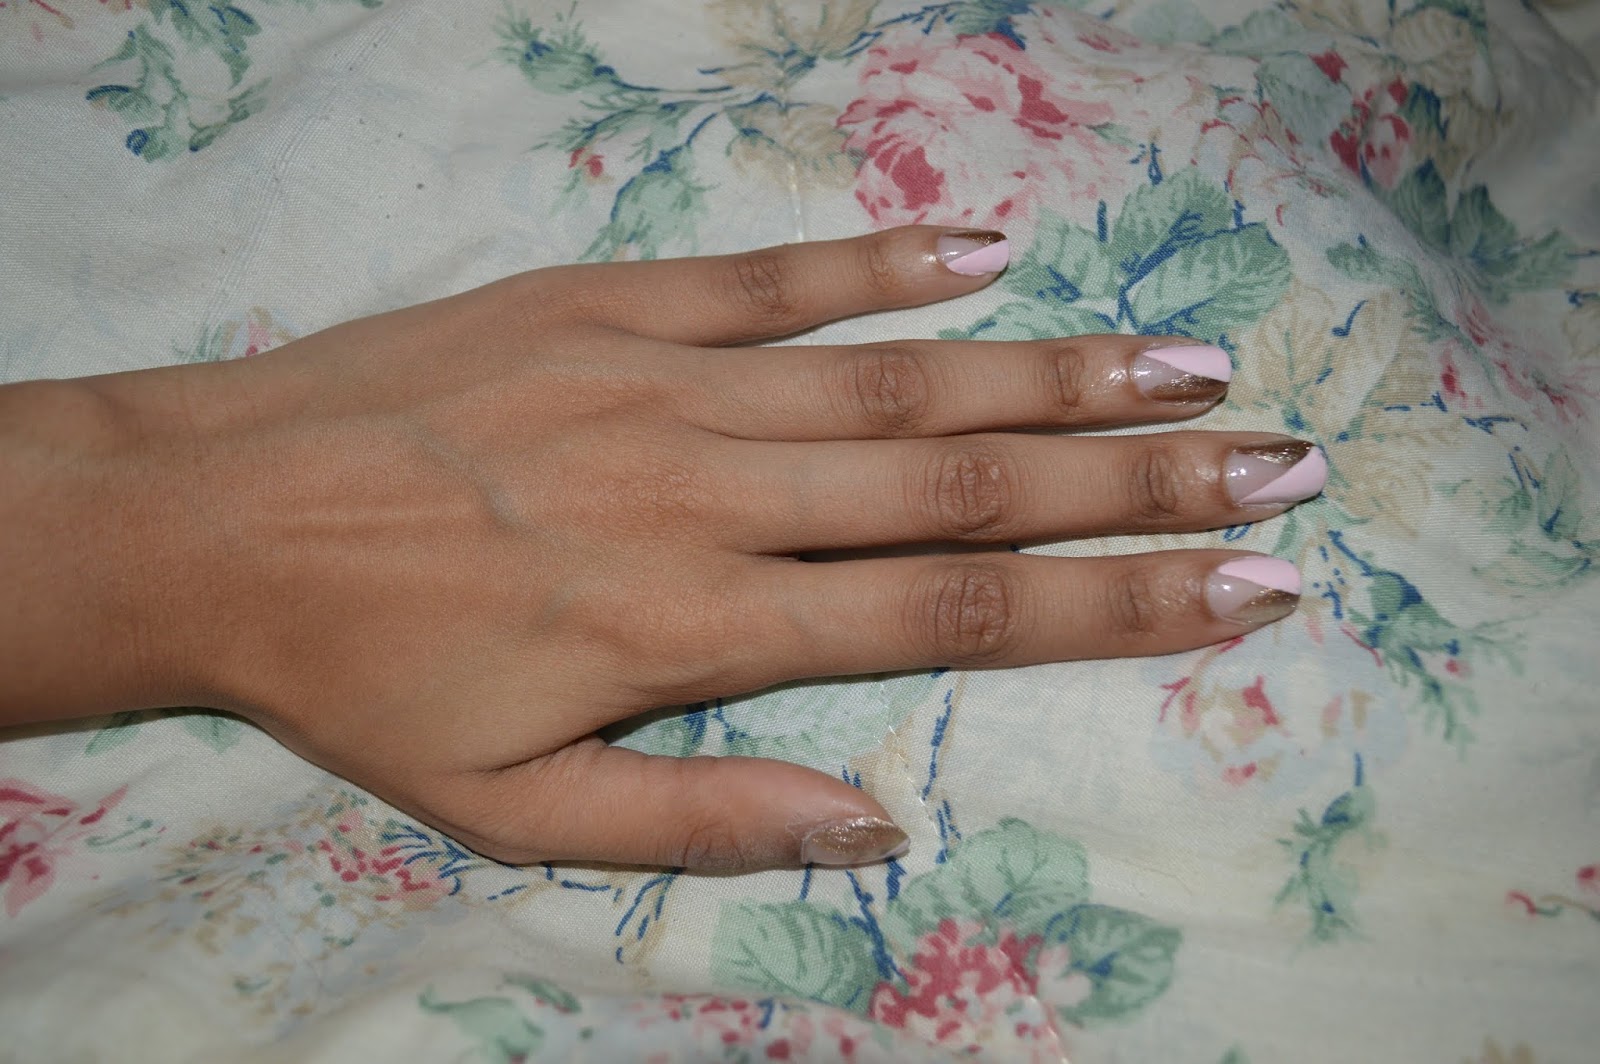
 Colorblock is a rising trend, both on the runway and in the nail salon. Couple this with a new trend, called negative space (where there is space on your nail that contains your natural nail color) for an amazing design. In order to get this look, you won’t have to venture out of the comfort of your home, as this design can be easily done by anyone with a few simple steps!
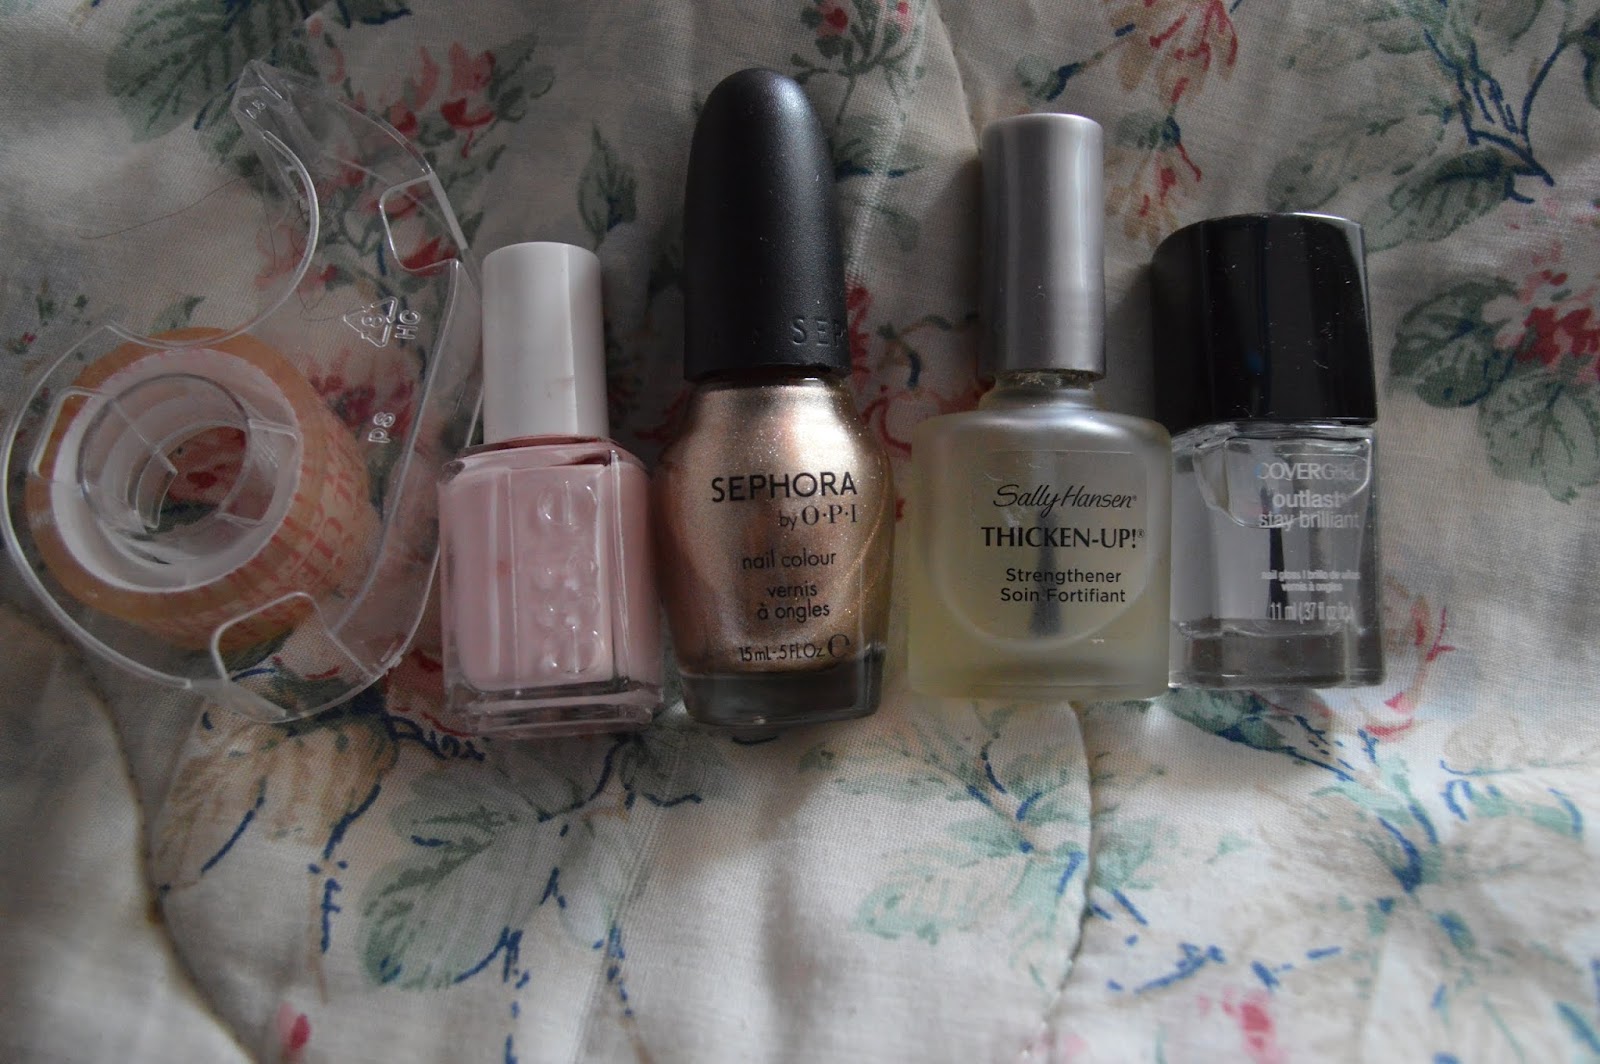
What you’ll need:
- clear tape (if necessary)
- a nail polish without glitter or shimmer
- a glitter nail polish
- a base coat
- a top coat
Step 1:
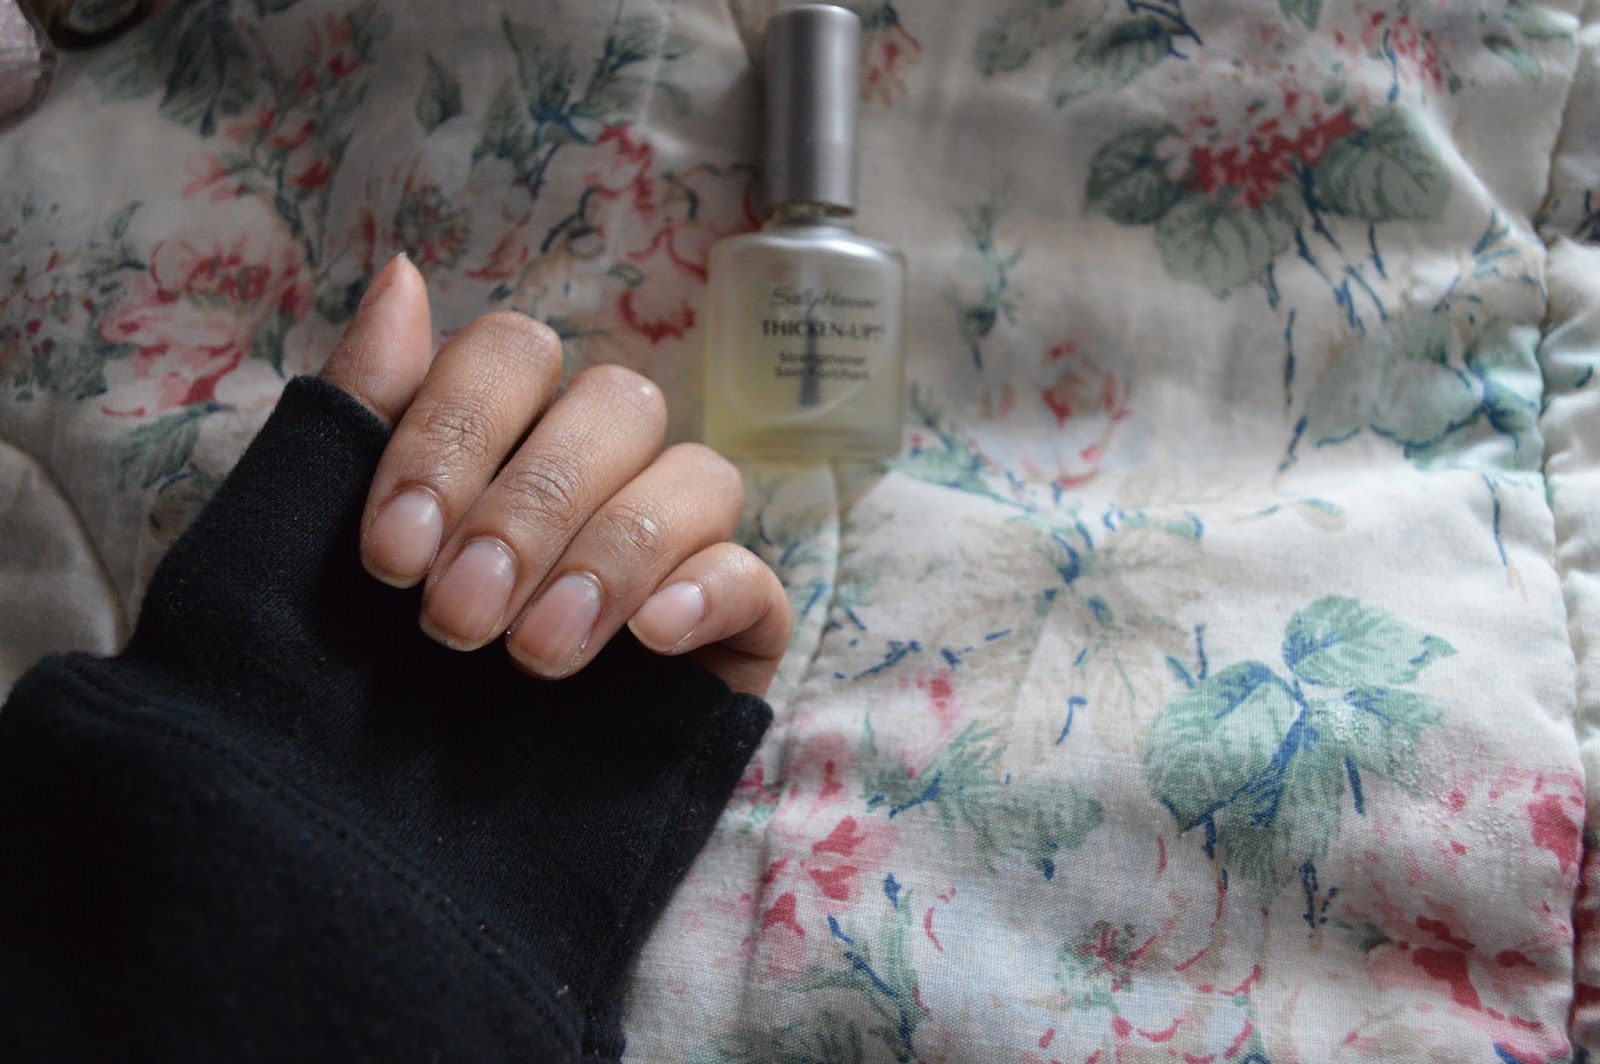 Start by applying the base coat to all of your nails. If you need to, file or buff your nails appropriately.
The base coat is used to protect your nails from yellowing and will even out any blemishes such as ridges or streaking. I am using Sally Hansens Thicken Up! nail strengthener formula. This can be purchased for $8.95 or less on Amazon
For this design, the base coat will enhance the color of your natural nail, for the negative space look.
Step 2:
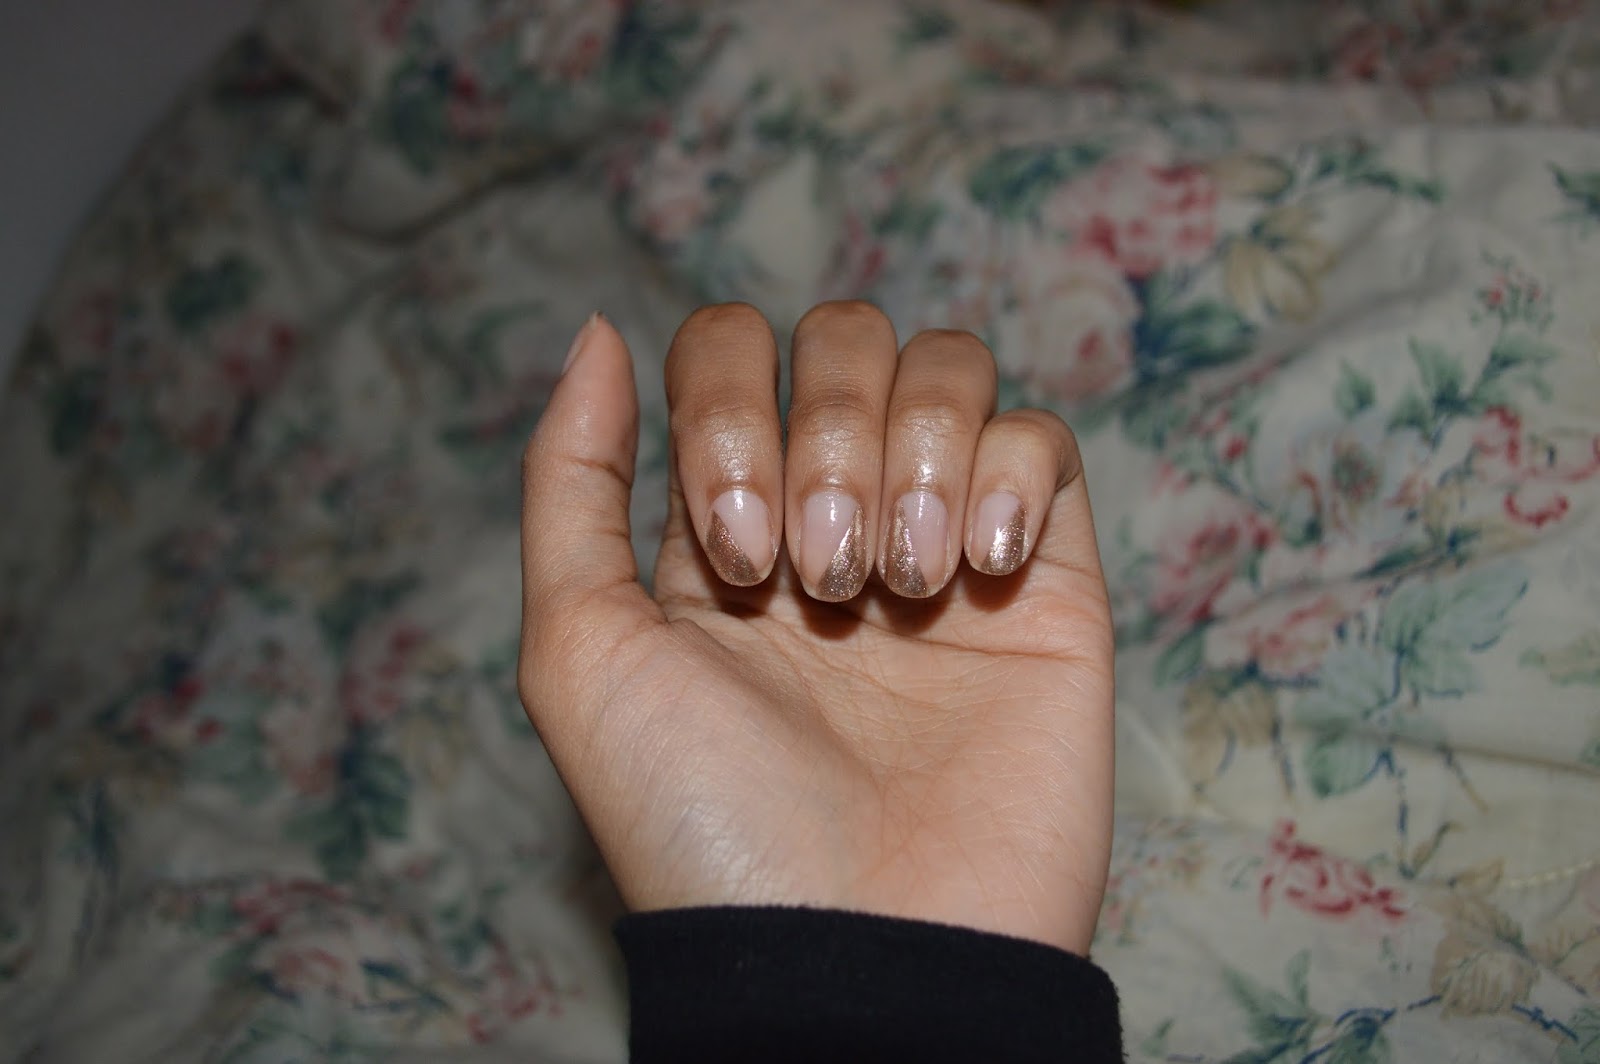
Once your nails are completely dry, apply one of the two colors diagonally across your nail. If necessary, use a clear piece of tape diagonally across the bottom of your nail to help shape your color for a perfectly straight line.
Remove the tape once you have painted your nail. For the first color, I am using Keep Me on My Mistletoes by O.P.I. from Sephora. This can be bought for $8.12 on Amazon.
Do this on all 10 nails.
Step 3:
Before you move on, it is crucial that your nails are dry, if you are using the tape method. Using the tape, apply another diagonal piece across the opposite side of your nail, and using the second color, paint across your nail. Be sure the triangle that is made is perfectly centered on your nail. Remove the tape when you are done. For this color, I am using Romper Room by Essie which can be bought on Ulta.com for $8.50.
Step 5:
Repeat the process for all 10 nails.
Step 6:
Add your top coat for a shine and to help protect the design. Allow 10-15 minutes to dry, and you’re done!